Open auxiliary lines in Silent Hill Townfall Part 6
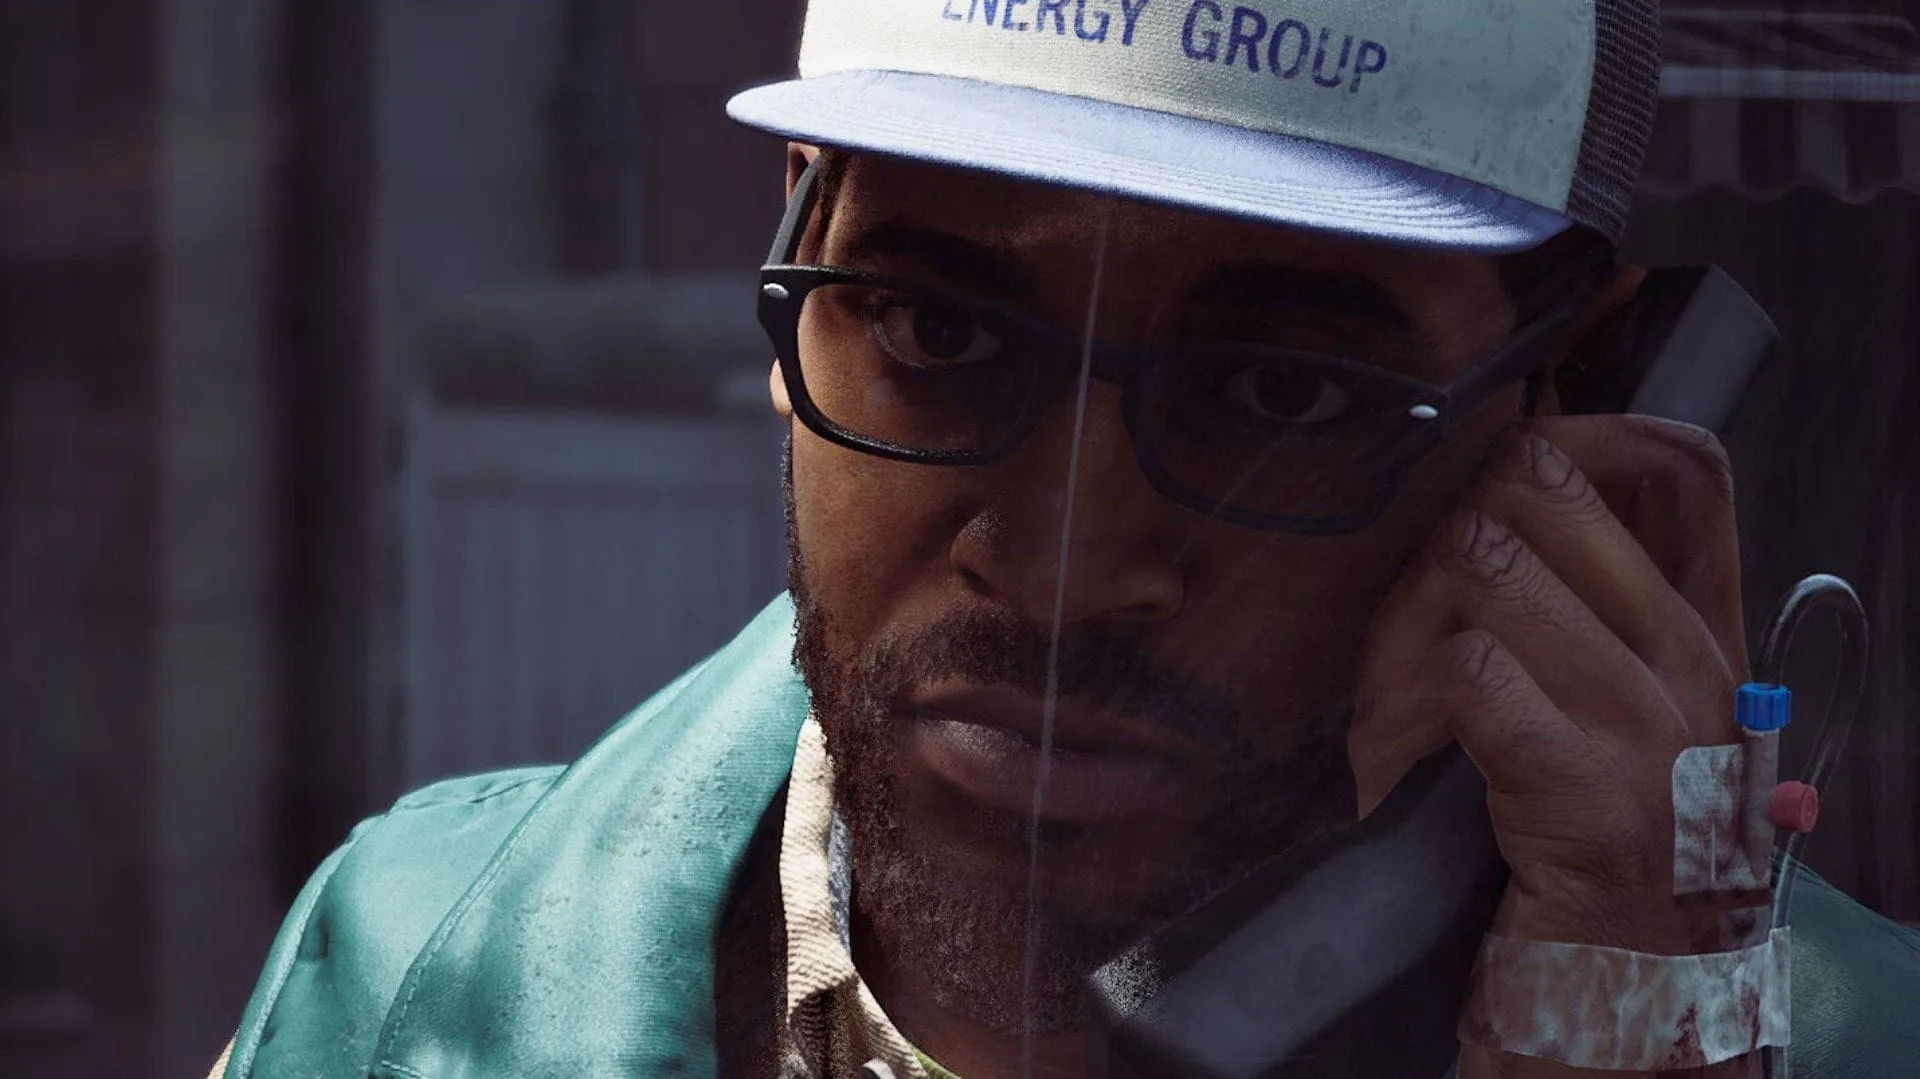
When exploring the labyrinthine depths of <Silent Hill: Townfall>, the game doesn’t just test your reflexes; it challenges your wits. One of the most intricate puzzles hidden within the game is the unlocking of the auxiliary lines at the end of Part 6—a convoluted path that demands careful observation and a knack for lateral thinking. For those feeling completely fried by the game’s intensity, navigating this challenge requires precise steps and a clear understanding of the hidden cipher.
The journey begins in the command center, where the first piece of the puzzle lies hidden. To unlock the necessary access, players must first decipher the code to the locker: 0825. Inside this locker, you will discover the key that grants access to the auxiliary room. Be warned: the path forward is not without peril, as the area is fraught with lurking monsters like The Weight, demanding a cautious approach as you proceed to the elevator.
Once inside the auxiliary room, the challenge shifts from physical navigation to cryptic code-breaking. The secret to opening the auxiliary lines lies in a sequence found within the room itself. You will find a locker and a terminal, alongside a crucial floppy disk. Using this disk on the terminal reveals a set of lines that initially look like an impenetrable cipher, but they conceal a surprisingly simple instruction set.
The document itself is not a complex cipher but a map for the levers. It indicates whether each lever requires a horizontal or vertical adjustment. The key to unlocking the path is determining which levers are connected to the specific lines. The pattern is determined by counting the white lines adjacent to the levers in each row—one for the first row, two for the second, and three for the third.
The solution requires solving three distinct auxiliary lines. The first line, accessed by the first set of white lines, demands a specific pattern of movements: vertical, horizontal, vertical, vertical, horizontal, vertical, horizontal, vertical, vertical. If executed correctly, the light next to the final lever will turn green.
The second line, requiring a different configuration based on two adjacent white lines, follows a distinct sequence: vertical, horizontal, horizontal, horizontal, vertical, horizontal, horizontal, vertical, vertical. Success here also results in the light turning green.
Finally, the third auxiliary line, utilizing three adjacent white lines, requires the most intricate arrangement: horizontal, vertical, vertical, vertical, horizontal, vertical, horizontal, vertical. Once this final pattern is correctly entered, the last light turns green, granting you passage. This successful completion allows you to leave the room, retreat to the elevator, and safely return to the command center, wrapping up this segment in a newfound sense of triumph.
Buy on Amazon
Credit
