Install a PS5 SSD in 2026
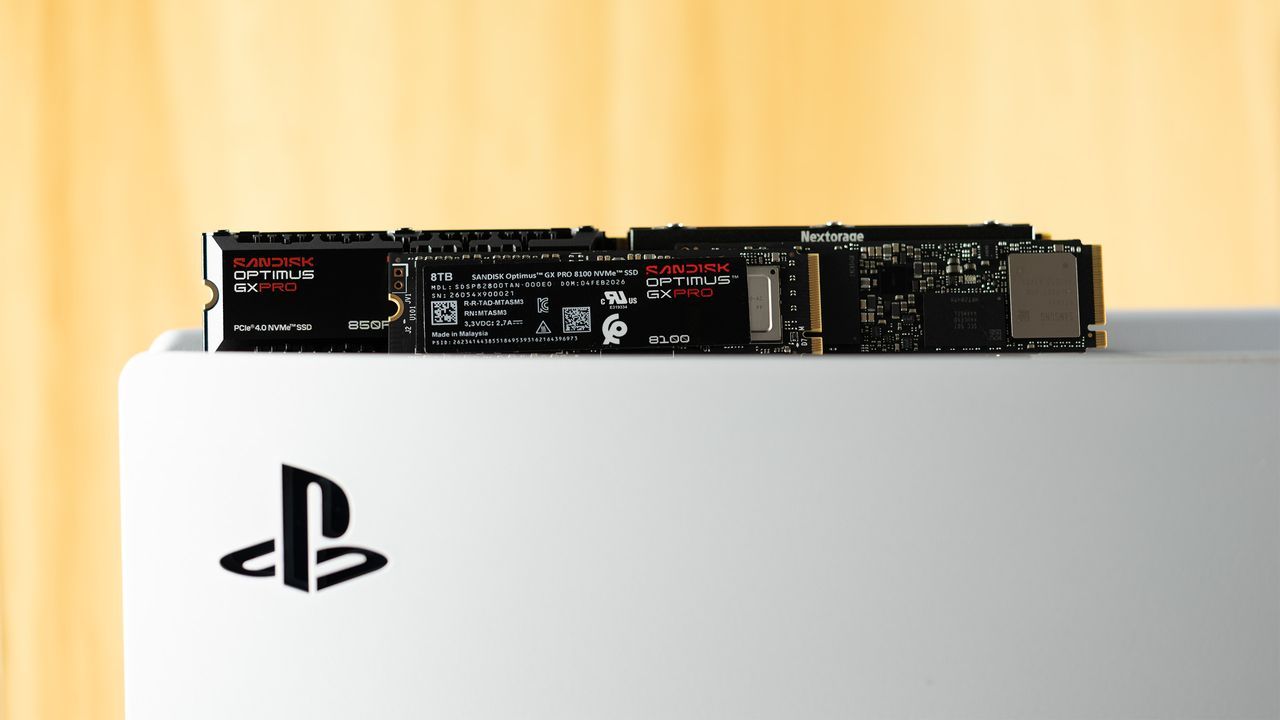
Unleash the Full Potential: The Essential Guide to Upgrading Your PlayStation 5 Storage
The era of physical game discs is over, and with Sony shifting focus entirely to digital distribution, the question for PlayStation 5 owners isn’t just about playing more games—it’s about managing them. Modern AAA titles are becoming increasingly massive and demanding, rapidly saturating the console’s internal storage. Juggling a growing library and future releases on limited internal space quickly becomes a source of digital frustration.
To ensure you never have to constantly battle storage limits or re-download massive games just to replay an old favorite, upgrading your PlayStation 5 with a high-speed M.2 SSD is no longer a luxury; it is a necessity. This upgrade is the key to unlocking seamless gaming, allowing you to dive straight into the newest titles without worrying about storage constraints holding you back.
The good news is that expanding your console’s capacity is a safe and effective path. As long as you proceed with care and use compatible hardware, the installation will not void your warranty. Ready to tackle this digital upgrade? Here is what you need to know about making the transition smoothly.
The Hardware Checklist
Before starting the physical installation, make sure you have the right tools. You will primarily need a Phillips screwdriver and a compatible PCIe 4.0 x4 NVMe SSD, ideally one boasting a minimum sequential read speed of 5,500 MB/s. For optimal performance and heat management, it is highly recommended to pair your drive with a built-in or aftermarket heatsink.
When choosing an SSD, look for cutting-edge performance. Excellent options available for the PS5 include drives like the WD Black SN850X, which delivers blazing speeds up to 7,300 MB/s in sequential read and 6,600 MB/s in write, or the powerful Samsung 990 Pro, capable of reaching 7,450 MB/s read speeds. For a more budget-conscious approach, drives like the WD Blue SN5100 offer solid performance at 7,100 MB/s reads.
A Step-by-Step Installation
The physical installation process is straightforward, provided you follow the steps carefully. To protect your console, begin by disconnecting both the HDMI and power cables and placing the PlayStation 5 horizontally on a flat surface. Use a non-static mat or cardboard underneath to prevent scratching the console.
Next, carefully remove the console’s rear cover. Be sure to discharge any static electricity before touching the electronics. Once the cover is off, locate and remove the screw securing the SSD expansion slot cover.
You will then need to match your SSD’s form factor (such as 2280) with the slot. Remove the spacer and reposition it to align with your chosen drive. Gently insert the SSD into the connector, tilt it at a 30-degree angle, and press it firmly into place. Secure the drive with the previously removed screw.
For maximum longevity, especially with high-performance drives, installing an aftermarket heatsink is recommended. Since Sony does not include a heatsink, an option like the Sabrent M.2 PS5 Heatsink is a popular choice, utilizing high-quality CNC aluminum to ensure excellent heat dissipation. Install the heatsink onto the SSD, aligning its notches with the drive and securing it with the screw.
The Final Steps
Once the hardware is perfectly in place, reconnect your cables and power on the console. The PlayStation 5 will automatically detect the new SSD and prompt you to format the drive before you can begin using it for game installations.
With this simple process complete, you have successfully expanded your console’s storage capacity. You are now free to enjoy the latest AAA games on your PlayStation 5 without ever having to worry about running out of space again.
Credit