Master Wardogs: 10 beginner action tips
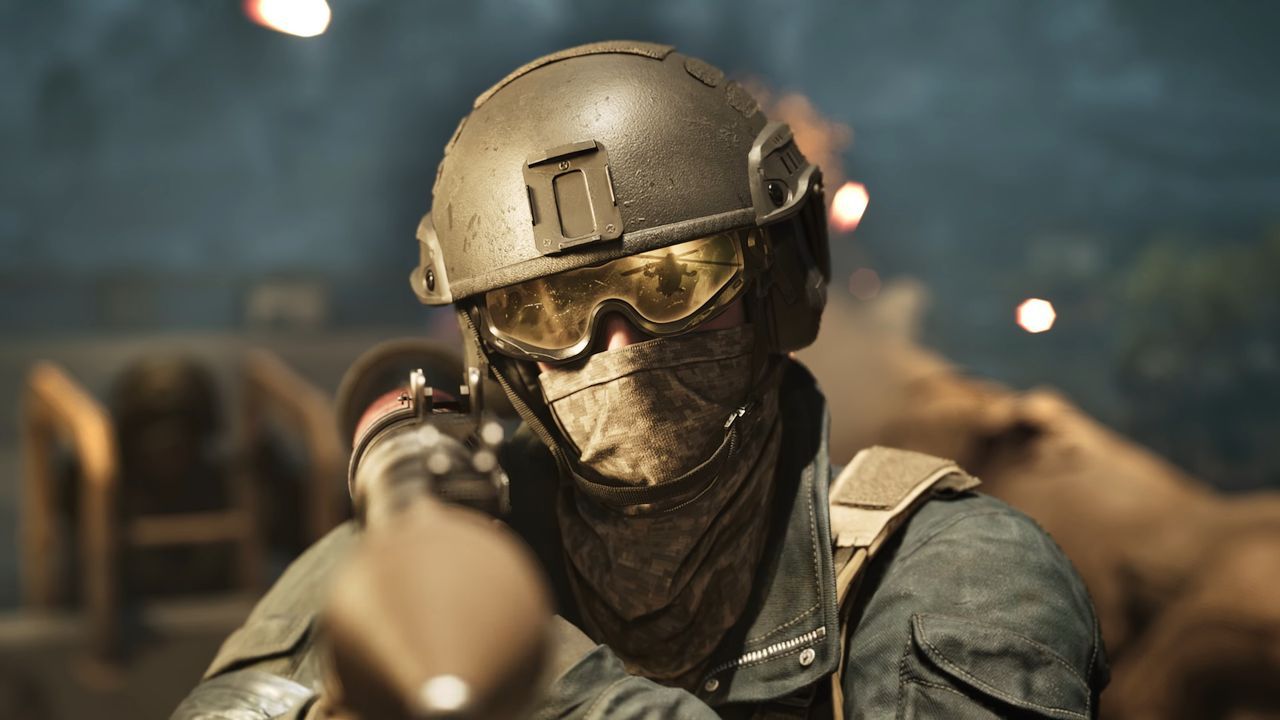
Step into the world of Wardogs, a title that promises the satisfying depth of a milsim while delivering the adrenaline rush of a military shooter. It’s a game that sits somewhere between the epic scale of Battlefield and the tactical squad focus of Squad, layered with the chaotic elements of Counter-Strike and extraction mechanics. It’s a game that demands attention, but for those willing to master its unique economy and transport systems, the experience is anything but dull—it’s wonderfully weird and incredibly fun.
If you’re new to the experience, diving into a game with dedicated driver and logistic roles can feel like facing a complex puzzle. To help you navigate the complex systems of Wardogs and maximize your success, here are some essential strategies to master the game’s flow.
The Pre-Mission Checklist: Gear Up Smart
Before you jump into the action, a little preparation goes a long way. When you’re preparing for a risky flight or deployment, make sure you don’t leave your spawn point without these crucial items:
- Two extra magazines
- 3 to 5 bandages
- A dot sight (unless you prefer iron sights)
- A class gadget, like binoculars, a hammer, or an RPG
These might cost a few extra hundred dollars, but the payoff is huge. You’ll find that waiting a few minutes in the zone for a helicopter is far more strategic than wasting time trying to scramble for supplies mid-fight.
Mastering the Economy: Ammo Strategy
Don’t fall for the trap of buying five full magazines right away. Wardogs offers a brilliant economic loop centered around loose ammunition. Buying ammunition in stacks of 100 is highly efficient, taking up only two inventory slots. When your magazines run dry, simply press C from your inventory screen to instantly replenish them from your stack of loose ammo. This simple mechanic saves you time and valuable inventory space.
Movement and Positioning
Think about how you move. Attempting a 3-kilometer drive from spawn to the zone is rarely the best option. It eats up precious time—four to five minutes, depending on the vehicle—and leaves you exposed. Team coordination is key: volunteer helicopter pilots are often available, eager to ferry the team to the action. Waiting a minute for transport is infinitely better than a slow, exposed drive.
Aiming and Engagement
When the chaos hits, precision matters. You can momentarily reduce aim sway with any weapon by holding the Shift key while aiming. This small trick allows for smoother aiming and even a slight zoom, making it easier to execute controlled bursts from a distance.
Maximizing Dead Space
Every dead body is a treasure trove. Don’t leave potential resources on the table; loot any fallen enemy for ammo, bandages, and fresh armor. These bodies remain available for looting for several minutes after the player has given up, providing a constant opportunity to replenish your gear.
The Art of Communication
In a firefight, communication is paramount. If you need to call for help, read the situation first. Don’t just shout names; enemies can hear everything over the mic. Coordinate your actions and use the team text channel to relay critical information, ensuring your allies stay safe while you secure objectives.
Strategic Targets
Look for high-value targets like enemy APCs. These boxy vehicles serve as mobile spawn points for the entire team. Blowing up an enemy APC with RPGs, IEDs, or C4 is not only strategically sound but also very profitable, offering a huge tactical advantage.
The Power of Observation
If you’re short on class gadgets, don’t panic. Binoculars are an incredibly powerful, inexpensive tool. They allow you to spot enemy players easily, and pointing them at a target will instantly reveal their position to your entire team. This single piece of gear is one of the easiest ways to provide vital intelligence and assist your squad, often earning extra XP and cash when you eliminate spotted targets.
Buy on Amazon
Credit
